Difference between revisions of "Quick guide"
| Line 17: | Line 17: | ||
== Step 3. Find the route == | == Step 3. Find the route == | ||
| − | + | With your home and destinations on the map, you're ready to create the route. At the bottom left corner, press the '''Find route''' button. The system will need some time for the route calculations. When ready, the optimized route is drawn on the map. | |
[[File:20151124 Wiki - Route found.png|400px|Enter a location using the search box]] | [[File:20151124 Wiki - Route found.png|400px|Enter a location using the search box]] | ||
''Tip: There are various ways to [[Use the route]]'' | ''Tip: There are various ways to [[Use the route]]'' | ||
Revision as of 13:26, 24 November 2015
This page explains the minimal steps that are required to plan a route to multiple destinations.
Step 1. Add your home location
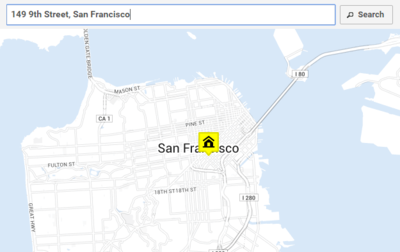
The route planner will need to have a departure location first. You can enter your home or office address in the search box at the top left corner. Type the address and press the enter button. The address will be added to the map with a yellow marker with a home icon.
Step 2. Add your destinations
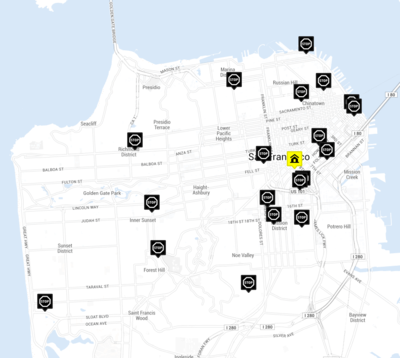
Next, you'll need to add all of your destination locations. Type each address in the search bar at the top left corner and press enter. Each stop is added to the map with a black marker with a stop icon.
Tip: If you can copy addresses, use the Import button to import multiple addresses at once.
Step 3. Find the route
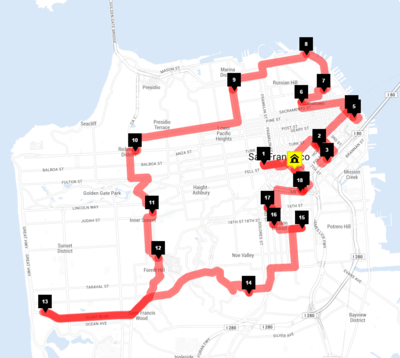
With your home and destinations on the map, you're ready to create the route. At the bottom left corner, press the Find route button. The system will need some time for the route calculations. When ready, the optimized route is drawn on the map.
Tip: There are various ways to Use the route


