Import
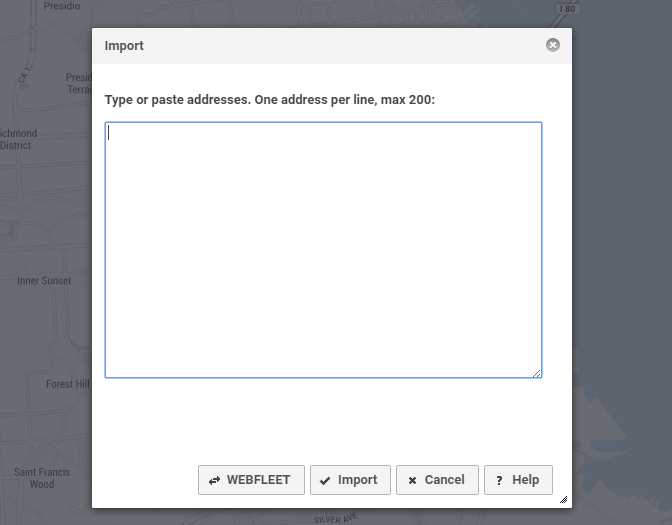
The Import button is a powerful tool to add multiple destination addresses at once. You can copy addresses in any application and paste in the Import textarea. Each address is sent to a Geocoding service to locate it on the map.
Contents
Instructions
1. Select the addresses in the origin application, e.g. Word document, Excel spreadsheet or Outlook email
2. Copy all addresses using the correct keyboard combination (often Ctrl-c)
3. In RouteXL, press the Import button
4. Select the textarea and paste the addresses (often Ctrl-v)
5. Press the Import button
6. Wait until all addresses have been added
Notes
- Each single address should be on one single line. If an address is broken in several lines, each single line will be processed individually, resulting in multiple same destinations on the map and/or import errors.
- If there are problems, a message will be displayed after all addresses have been handled. If you only import partial addresses, e.g. postcodes, you may get several warnings that addresses were not precise. To preven this warning, deselect the address precise check in the options.
- If locations are not found, make sure to use the correct Address format or select another Geocoding service.
- The import dialog accepts coordinates. Coordinates must be in the format <lat>,<lng> and have a precision of at least 4 decimal places. Coordinates can be combined with additional fields.
- The import dialog accepts JSON too, but the format must match the API locations array. If you are using the API this is a great way to check the results.
Additional fields
With your addresses you can also import information like customer names, service times, time windows and comments. These additional fields will be stripped from the input before geocoding. This will significantly improve the quality of the locations found on the map. After that the information will be added back to the addresses, to be used for the route.
- Names between @ and @
- Service times in minutes between ( and )
- Ready and/or due time as hh:mm (24hr) before and after >>
- Comments between { and }
- Demand for capacity as number between ^ and ^
- Heading (angle of approach) in degrees between * and *
Example
Kennemerstraatweg 464, 1851 NG Heiloo, The Netherlands @RouteXL headquarters@ (15) 14:00>>18:00 {Use the main entrance, leave the package at the front desk}
Voice input
If you're using RouteXL on a smartphone, and if supported by your model and make, you may be able to use voice recognition to add addresses:
- Tap the textarea to activate the smartphone keyboard
- Look for the microphone button. If it is not there, your device does not support speech
- Tap the microphone button to activate speech recognition
- Read out your addresses loud and clear, say "new line" in between addresses
See also: https://support.apple.com/en-us/HT208343
WEBFLEET
If you have a WEBFLEET account a button is added to allow import of orders from the WEBFLEET platform.
